Update: The HubSpot integration also support Conversations. Scroll down below to see how to enable HubSpot chat for your Unstack site.
Unstack integrations allow teams to design their ideal marketing stack. In a matter of minutes modern teams can enable analytics, chat, email, CRM, and re-marketing. In this article we're going to focus on how to get the most out of Unstack's HubSpot integration.

What is HubSpot?
If you're not already familiar, HubSpot is a marketing platform focused on marketing automation, customer relationship management, and customer support. They have a free forms product that makes it easy to start collecting leads and using their lightweight CRM. One of the great things about HubSpot is that it plays well with other platforms, making it very easy to plug into your Unstack account. Once you activate your integration you can immediately start collecting leads right into HubSpot and capture important behavioral information about your customers.
Setting up the integration
Step One: Find your Portal ID. It's a seven digit ID that you can find in the top right drop down of your HubSpot account. You can also find it under the "Tracking Code" section in your HubSpot account settings.
Step Two: Open up your Unstack integrations tab inside of the Unstack CMS portal and locate the HubSpot integration. It looks like this:

Click the "+" button and past in your seven digit HubSpot Portal ID. Then click Save. If it's successful you should see something that looks like this:

Now that you're integration is enabled, Unstack will automatically render the HubSpot tracking code across your site in the right places in order to collect important information about users.
Capturing leads using HubSpot forms
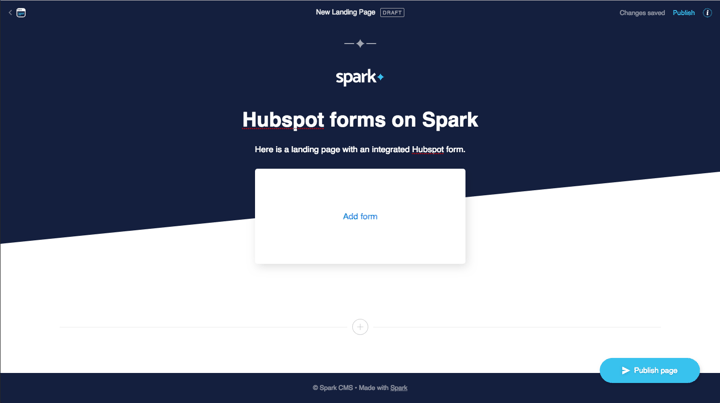
Now that we've activated the integration we can use HubSpot forms in all of your landing pages. Adding these forms in Unstack is dead easy. To start, create a new landing page in your Unstack portal.

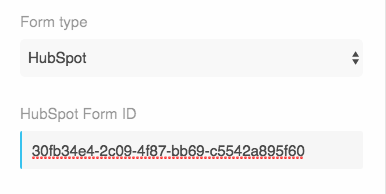
On creation your landing page should have some basic structure to it as you can see above. In this case I've added a header and some sub text. As you can probably imagine, the next step here is to click the "Add form" link in the middle of the box. This will open your page settings. Select the Form type (HubSpot) and then enter the unique HubSpot form ID that you want to show up on this page. These are provided in your form settings on HubSpot's platform.

Note: You can also customize form and page settings by clicking the settings icon in the top right section of the page.
Click, save, and boom goes the dynamite.

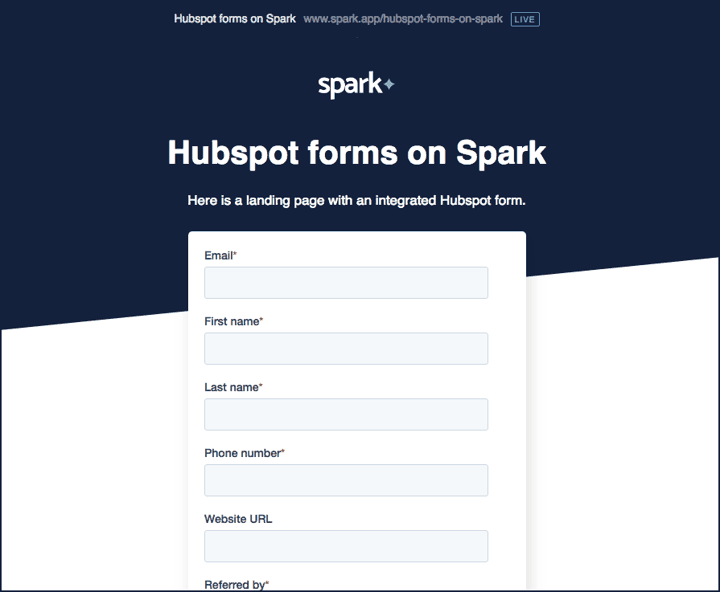
You know have beautiful working HubSpot forms working on all of your Unstack landing pages. Now, read about how to drive search traffic to your landing pages using Google Search Console.
Enabling Hubspot Conversations
When you enable the HubSpot integration on Unstack you will also automatically have the option to turn on Conversations. To get started login to HubSpot and go to the conversations tab. Once there, go through the automatic steps to set conversations live. This is going to essentially create your first chat flow
If you're using another chat service like Drift or Intercom be sure to disable those integrations before you set Conversations live from within your HubSpot account.

If your chatflows are turned off then Conversations will not be live on your Unstack site. Once you turn them on you should immediately see Conversations appear.
