
Quick, how many people visit your website daily? And how much time on average do they spend on your blog? Are they new visitors or returning ones?
If you don’t know the answer to these questions, you’re missing out a lot when it comes to tracking your website performance.
With Google Analytics, you can learn a lot about your prospects’ behavior on your website. What’s more, this tool is free, so you’re investing zero money into something that can help you improve your ranking, sales, and more.
Keep reading to learn how to set up Google Analytics.
Getting started with Google Analytics
Google Analytics is fundamental to your website data and your content analytics, so it’s essential to set up. The good news is that it doesn’t take that long. Here, we’ll walk you through these four easy steps:
- Create your account
- Add a property
- Set up a reporting view
- Add the tracking code
Now, let's run through each step.
1. Create your account
You’ll start by visiting google.com/analytics. To use the free version, select the “Start for free” button. If you already have an account, just click on “Sign in.”
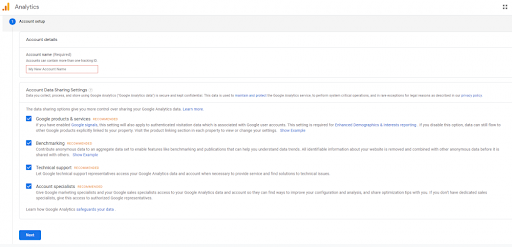
Follow the on-screen instructions and enter the required data, such as your account name, and then set up your data sharing options—you can choose to share your analytics with Google marketing specialists or technical support, for example.
2. Add a property
Now it’s time to create a property, which is actually your website or app. That’s where Google Analytics will collect data from. If you have a website and an app, you can add both, since one account supports more than one property.
In this step, you’ll also be prompted to choose your reporting time zone and currency.

After you’ve selected these items, you’ll need to choose your industry, business size, and metrics you’d like to measure with Google Analytics. When done, click on “Create” and confirm that you agree with the terms of service. Click on “Finish” to complete the process.
3. Set up a reporting view
Having everything in one place helps you be as efficient as possible—that’s what the reporting views are for. Now that you’ve created an account, you can access different tools for data analysis and examine reports.
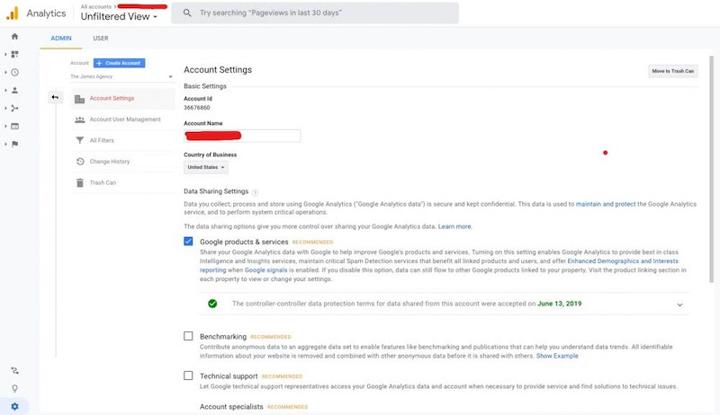
At first, you’ll have a single unfiltered view for each property you add, but you can change that later on. Using filters in reporting views comes in handy because you can exclude specific data from your reports. For example, you can eliminate your company’s IP addresses from the number of visits to your website.
4. Add the tracking code
To start collecting data about user behavior, you need to add the tracking code to your app or website. After you add this code to each website page you want to track, you’ll immediately have access to reporting views via Google Analytics.
To locate the tracking code, follow these steps:
- Open your Google Analytics account.
- Select "Admin" and from the "Account" column, choose one account.
- In the property column, click on the desired property.
- Choose "Tracking Info" from the Property menu and then click on "Tracking Code." You’ll see the code at the top.
Use Google Analytics to grow your business
You can’t improve your performance if you don’t know where to look for shortcomings, can you?
With Google Analytics, you’ll be able to nail down exactly what you’re doing right and what needs a bit of work to provide better results. For Unstack users, this is even easier—you can connect your GA account and monitor your performance all in one place!
So what are you waiting for? Go grab your tracking code and start upgrading your website.